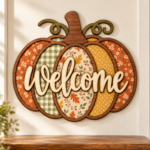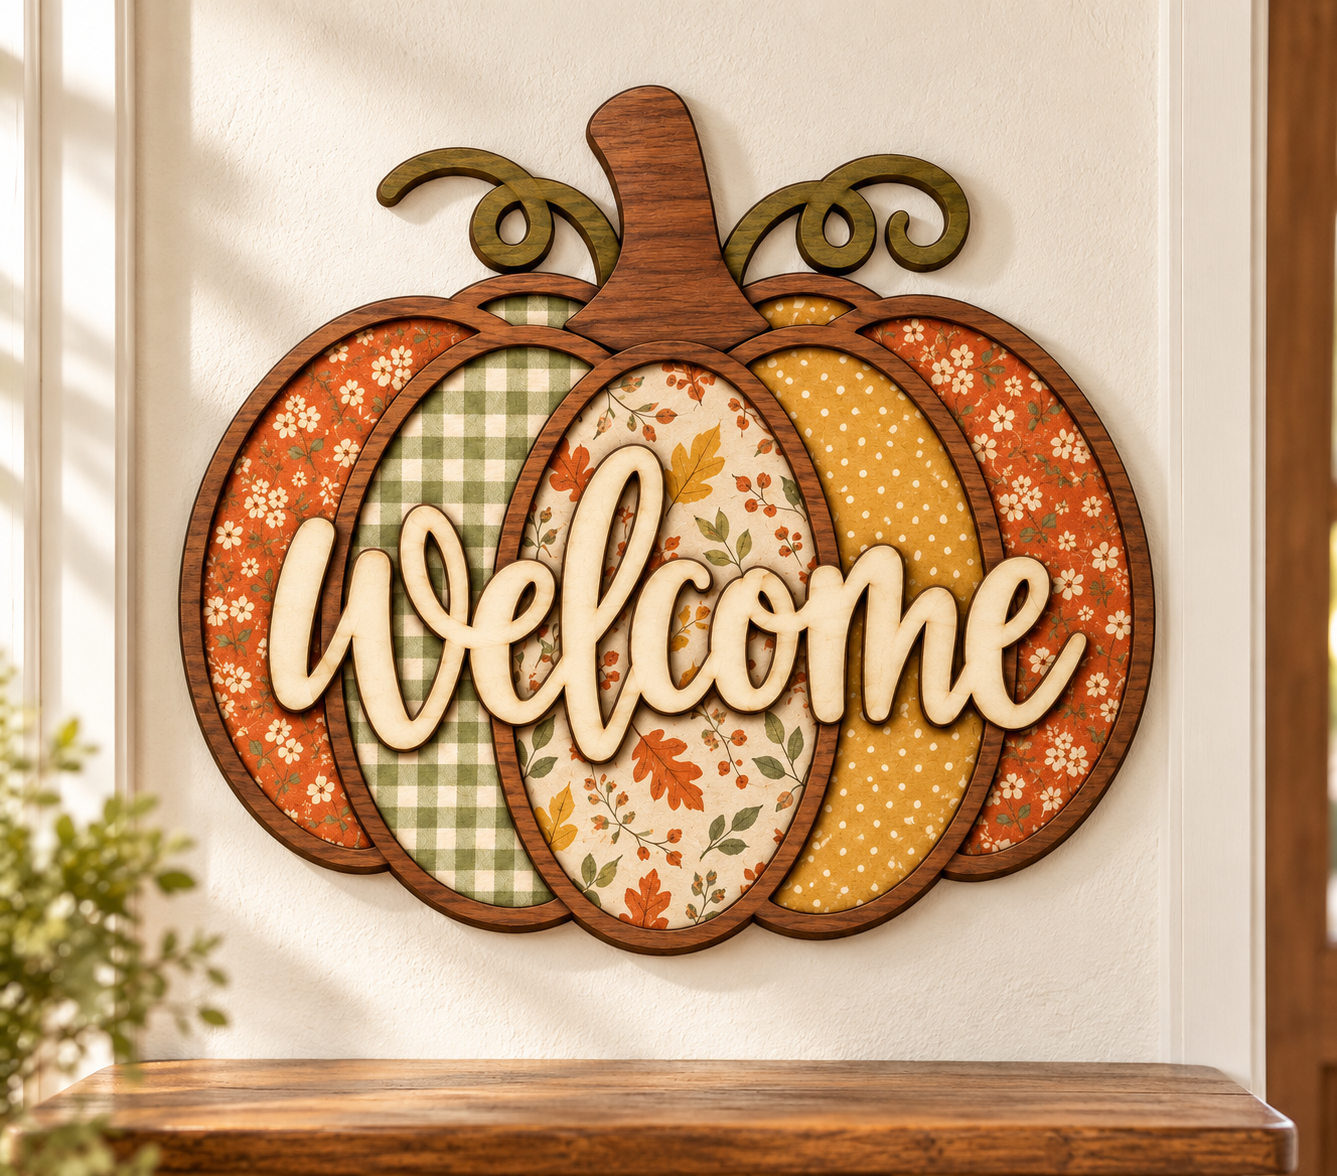
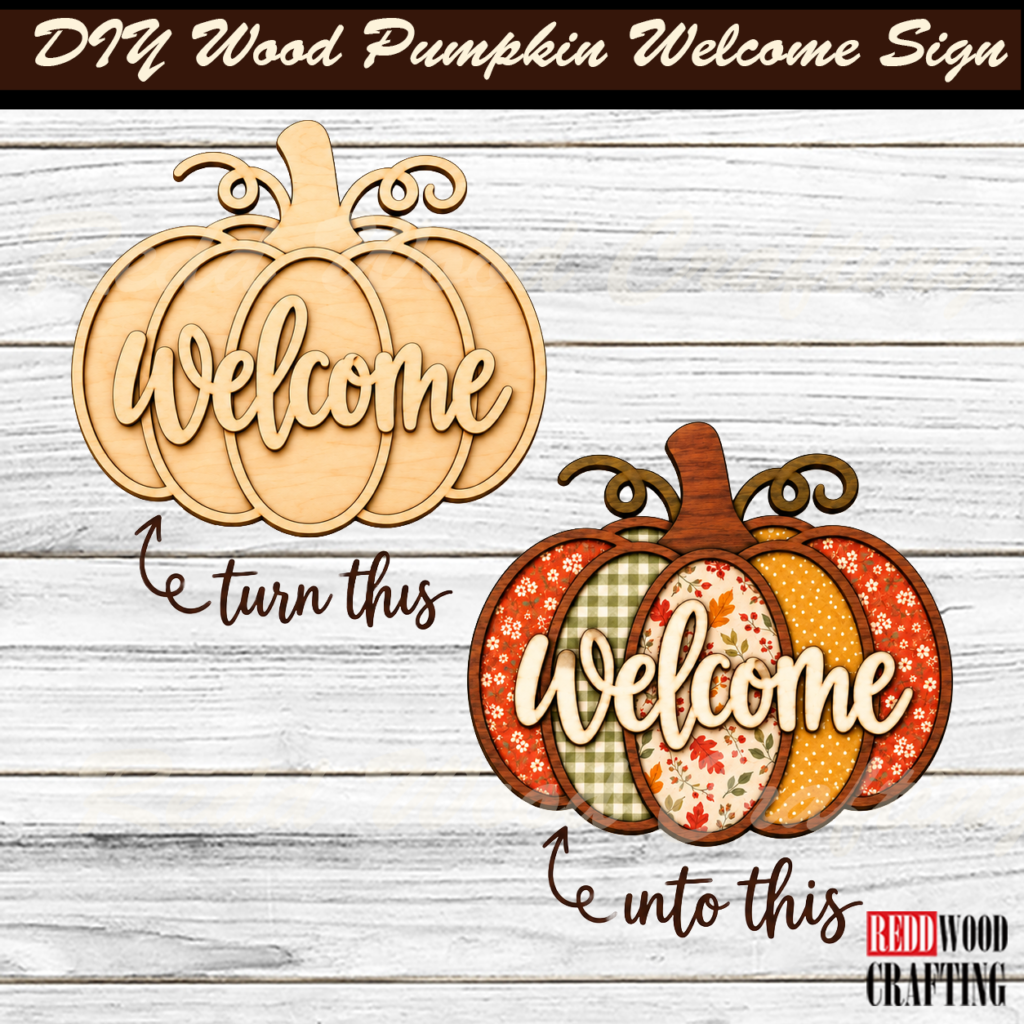
Scrapbook paper is a fun way to give a plain wooden door hanger a patterned, layered look. Choose a few coordinating fall prints, add a little Mod Podge, and finish it with leaves, ribbon, and a word across the front.
Supplies
-
- An unfinished wooden pumpkin door hanger or several thin wooden pumpkin shapes
-
- Fall scrapbook paper in four or five coordinating patterns
-
- Mod Podge suitable for paper
-
- Foam brush or soft paintbrush
-
- Pencil, scissors, and craft knife
-
- Fine-grit sandpaper
-
- Acrylic paint for the edges and any uncovered wood
-
- Wood or chipboard “Welcome” cutout
-
- Faux leaves, a flower, and wired ribbon
-
- Hot glue or craft adhesive for the decorations
-
- Hanging twine or wire
Step 1: Plan The Patterns
Lay your pumpkin pieces out without glue. Assign a different paper to each section, mixing small prints with one or two larger patterns. Check that your “Welcome” cutout will stand out against the papers behind it.
Take a quick photo of the arrangement before you move anything. It makes reassembly much easier.
Step 2 : Paint the Edges
Paint the outer edges of each wooden piece in a coordinating fall color. Paint any wood that will remain visible, too. Let it dry completely before adding paper.
This small step gives the finished hanger a cleaner look, especially when viewed from the side.
Step 3: Trace and Cut the Paper
Place each wooden piece face down on the back of its chosen scrapbook paper. Trace around it, then cut the paper slightly outside your pencil line.
If the pumpkin is one solid piece with marked sections, make paper templates for each section first. Leave a narrow gap between patterns so the shape of each section stays visible.
Step 4: Apply the Paper
Brush a thin, even coat of Mod Podge onto one wooden section. Lay the paper in place and smooth it from the center outward with your fingers or a clean cloth. Work gently to push out air bubbles without tearing the paper.
Repeat with the remaining sections. Let the adhesive dry before trimming the edges.
Step 5: Clean Up and Seal
Trim excess paper with a sharp craft knife or lightly sand downward along the wood’s edge. Brush away any paper dust.
Apply a thin coat of Mod Podge over the paper, brushing smoothly and avoiding heavy puddles. Let it dry, then add another thin coat if needed. Pay particular attention to the paper edges, where peeling is most likely to begin.
Step 6: Add the Welcome Cutout
Paint the “Welcome” cutout a color that contrasts with your patterned paper. Once it’s dry, position it across the center of the pumpkin and attach it with craft adhesive. Press it flat and allow the adhesive to set.
Step 7 : Finish the Top
Arrange faux leaves above the pumpkin, then add a ribbon bow and a flower at the center. Attach the decorations securely without covering the word or hiding too much of the patterned paper.
Add a twine or wire hanger to the back, and your pumpkin is ready to display.
A note about placement: Paper and Mod Podge hold up best indoors or on a well-protected, covered porch. Keep the hanger out of direct rain, and follow the directions on your chosen sealer if you want extra protection.
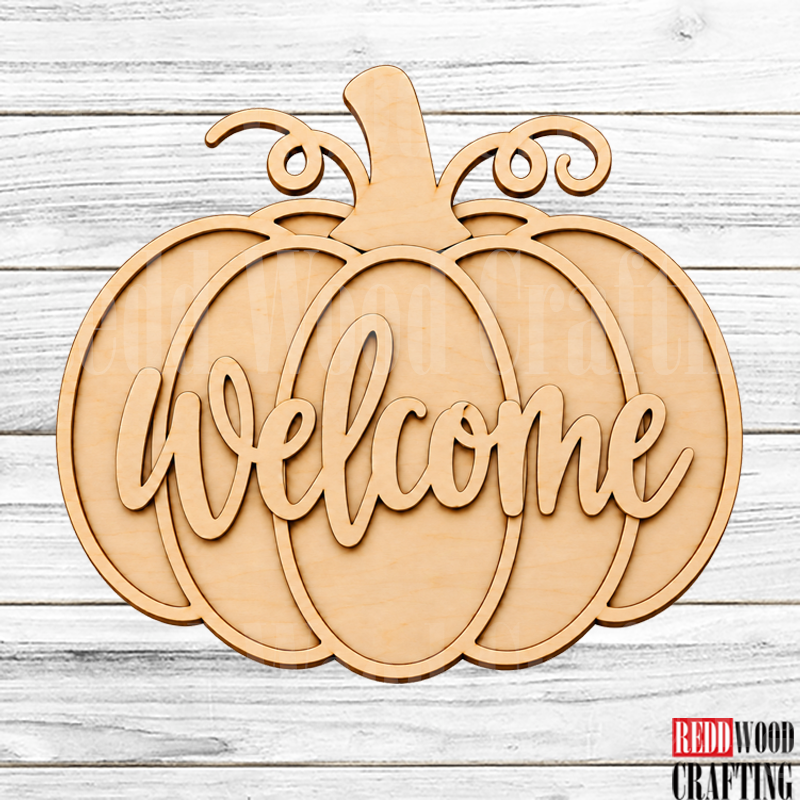
Wood Blank Before
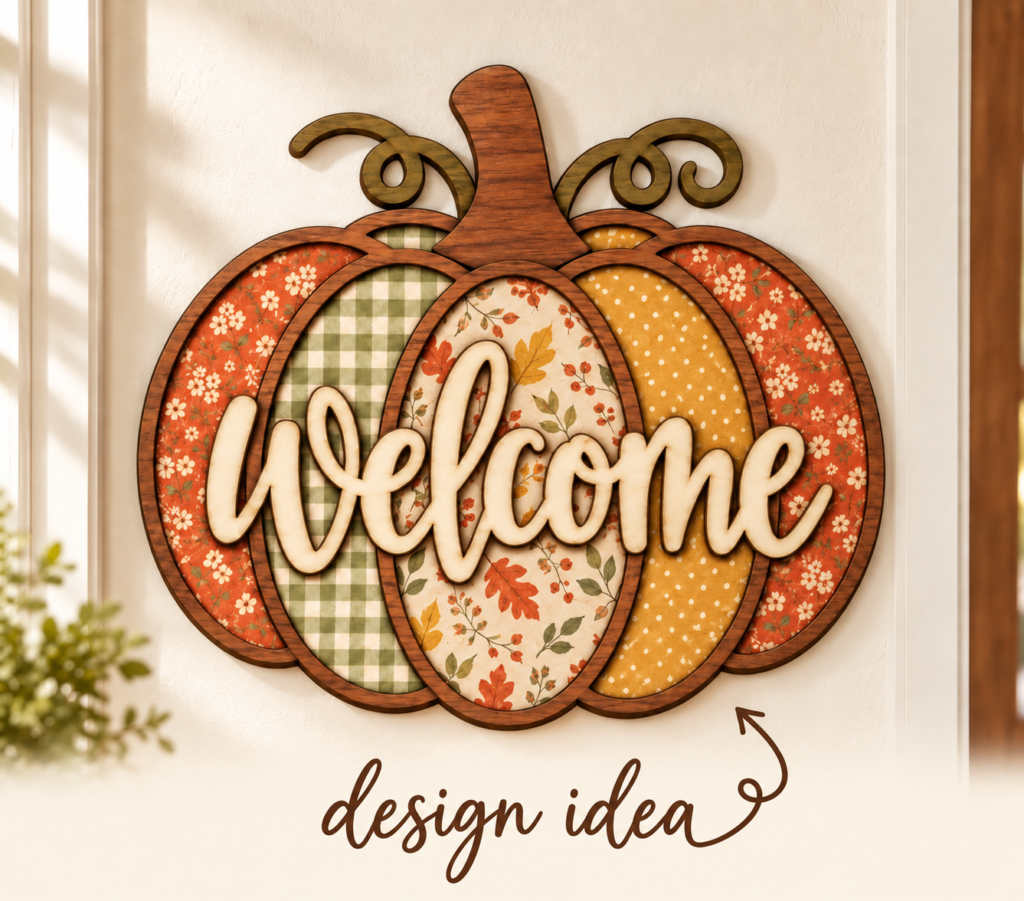
Wood Blank After

 Ornaments
 Card Displays
 Bracelets
 Cufflinks
 Earrings
 Necklaces
 Rings
Rings